In this tutorial, we show how to add custom CSS to a WordPress website built using the Divi theme. Divi is a powerful theme that also comes with a front-end page builder. As such, you typically don’t need to worry about CSS as you can style pages and elements via the page builder directly.
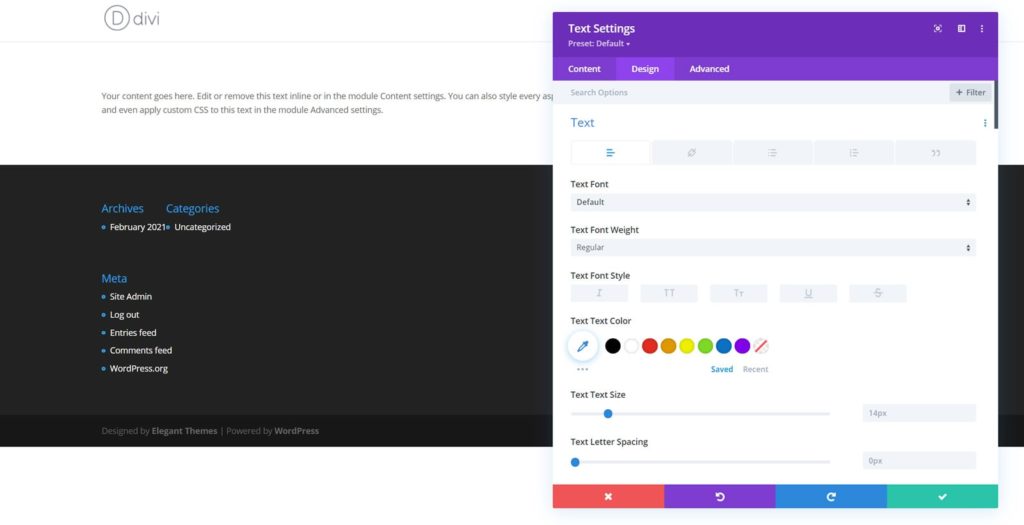
Although, there are instances where you need fine-tuned control over some elements that Divi does not control. In such situations, you may need to add your own custom CSS to handle the job. This tutorial covers four different ways to add your own custom CSS to a Divi WordPress website.
**Note that all methods shown in this tutorial will save your custom CSS through theme updates. If you make any changes to Divi’s core theme files (style.css) you will lose all custom CSS once the Divi theme updates.
Method 1: WordPress’ Customization Tab
On the WordPress backend, navigate to Appearance >> Customization >> Additional CSS. When you open this tab, you will be able to add any CSS code needed for your specific purpose. Be aware that any CSS added here is applied site-wide. This means that the CSS could apply on any page of your website, so be cautious about your changes.
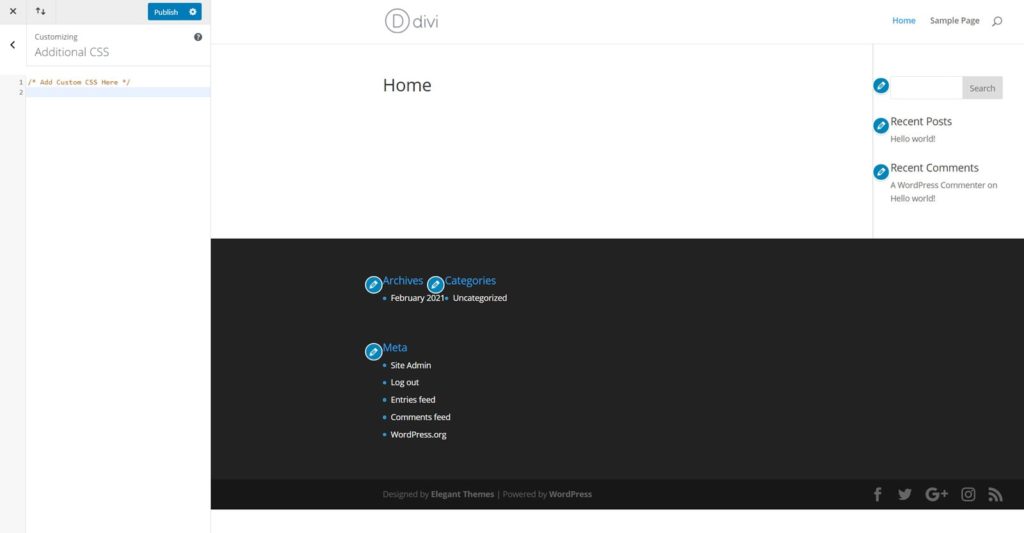
If you use Method 1, you can see the changes your CSS makes in real-time across your site. You can view the changes you make without saving so you can always revert in case you mess up. Using Divi, you can also switch between desktop, tablet, or mobile view to see the impact of your CSS on all common screen types.
Method 2: Divi’s Theme Options
On the WordPress Divi backend, navigate to Divi >> Theme Options >> General. On Divi’s Theme Options General tab, scroll down to the bottom of the page and you will see a section named “Custom CSS.” This section is where you can add your own custom CSS to your WordPress Divi website. Note that any CSS code that you apply here will also be added site-wide.
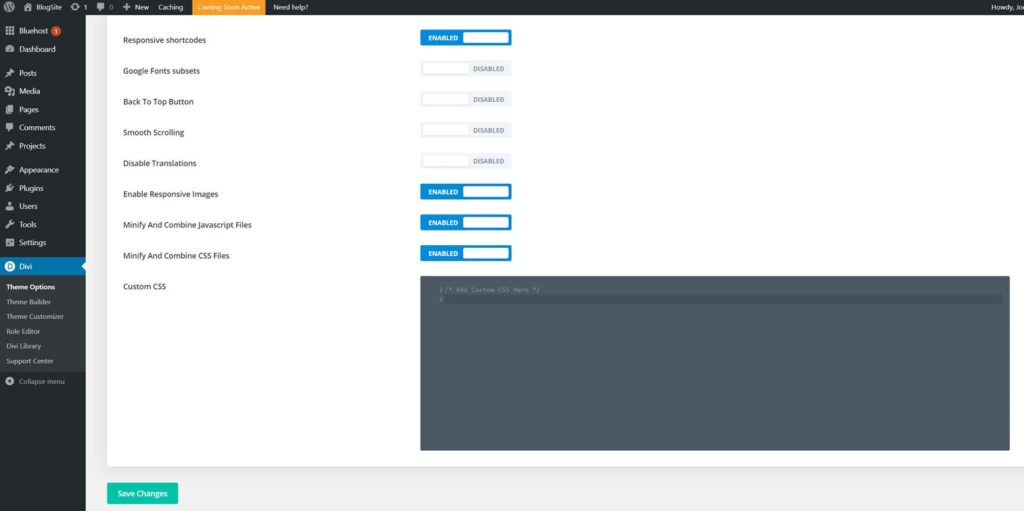
Method 2 is simple to use and quick to make changes. Just note that when you save changes via Method 2, you will need to refresh any web page to see the update live.
Method 3: A Child Theme
A child theme is a subset of a main parent theme that allows you to make slight modifications while maintaining a majority of the original theme. Every child theme consists of it’s own style.css file where you can add in your own custom CSS. To create/access the style.css of your child theme, you will likely need FTP access and a code editor to make the changes. Again, any CSS added here will also be applied site-wide.

Method 4: Divi’s Page Settings
All methods mentioned above apply CSS site-wide. If you want to add custom CSS to a specific page only, Method 4 may be best. Navigate to the page you want to add the custom CSS to and then open Divi’s Visual Builder. Once the visual builder is open, click on the Page Settings button (circular button with 3 dots at the bottom of the page) and go to the Advanced tab. On there, add your page’s custom CSS code to the Custom CSS section and whatever you add here will ONLY be applied to this particular page.
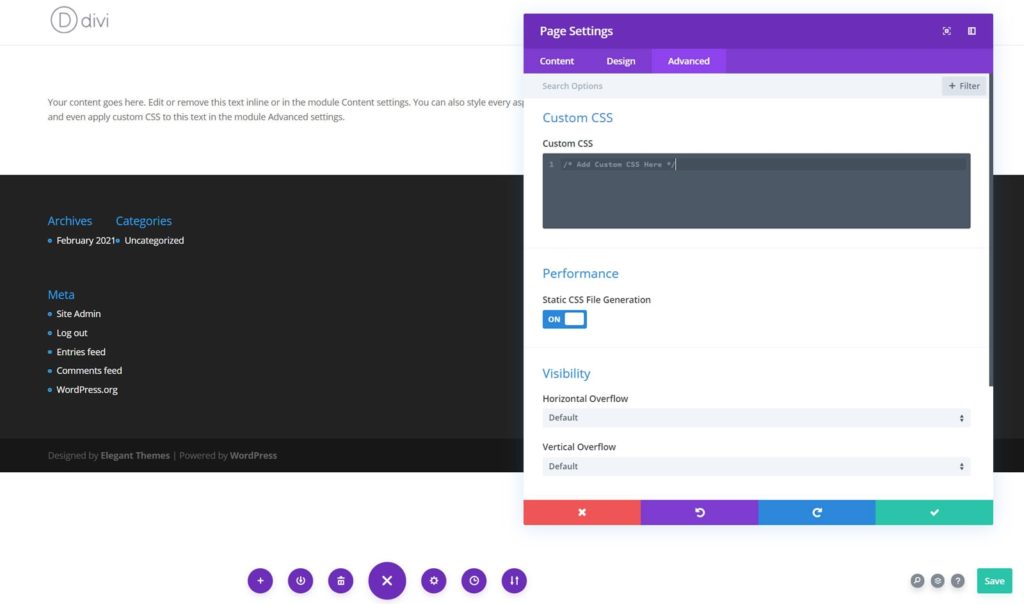
Method 4 is a good option when individual pages need specific CSS. A benefit of this approach is that all CSS changes will only apply to the given page and cannot impact the rest of your website. A downside is that if your website has lots of pages, it may become difficult to remember and manage the pages with specialized CSS.
Final Tips, Tricks, and Resources
- Comment your CSS: Always comment your CSS to remember the intention of each CSS snippet. Comments will allow you to keep your code neat and organized. Even a simple comment such as “Changes menu color” will do wonders.
- Be Precise: Give elements classes and ids so you can always target specific elements and your CSS changes will only apply to the elements you intend to target. Especially since CSS could apply sitewide, you need to be cautious about your CSS rules.
- Keep Learning: Check out the resources at W3 Schools to learn more about CSS, CSS functions, CSS selectors, and more.

